Do you want to secure your website with SSL for WordPress? Any step towards helping users browse your website safely is a good move. Right now there are even more reasons to make the move from HTTP to HTTPS than security. The reputation of unsecure sites using HTTP is about to be rocked.
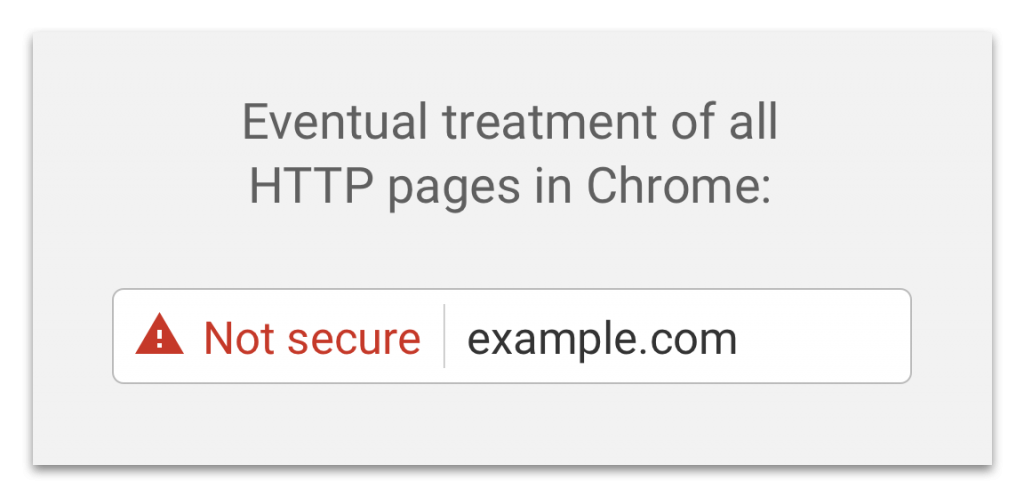 Back in 2014, Google made a push towards a more secure web when it included HTTPS as one of the many ranking factors in it’s algorithm. Starting in January 2017 Google will take this a step further. I’ll go into more details on that shortly, and explain how to add SSL to WordPress websites, but first let me explain a little more on what exactly this all means.
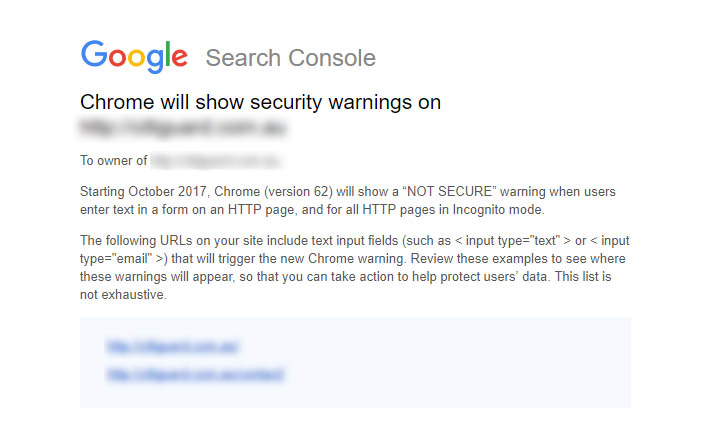
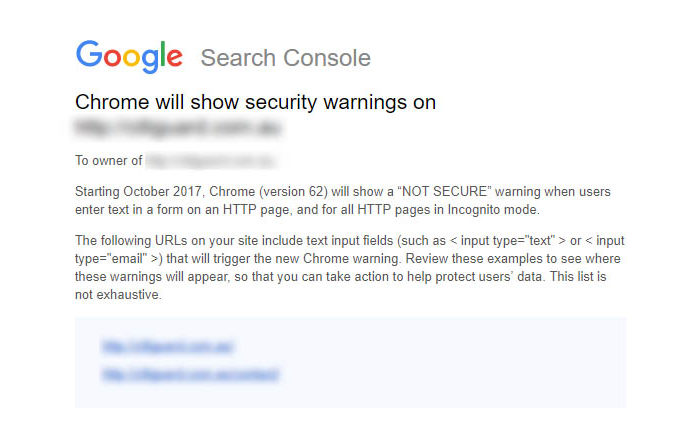
Update August 18th: Google Search Console has started sending out notices to sites that have not yet migrated to HTTPS. The Google Chrome browser will begin marking HTTP pages as “NOT SECURE” beginning in October. When released Chrome version 62 will show the warning on pages with forms including passwords, credit cards, or any text fields that the browser determines are need of HTTPS security.
What is HTTP, HTTPS and SSL?
HTTP or “Hypertext Transfer Protocol” governs the way data is communicated across the web. When you type http:// before the domain this tells the browser to connect using HTTP.
The ‘S’ at the end of HTTPS stands for ‘Secure’. All communications between your website visitors and the website is encrypted using the HTTPS protocol. This protects the data that visitors send and receive from being seen by eavesdroppers.
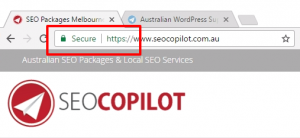 A secure website using HTTPS is highlighted with a green padlock in the address bar, increasing visitor trust.
In order for your website to use HTTPS, you must have an SSL (Secure Sockets Layer) Certificate. A unique SSL certificate is issued to authenticate the website server and allow the HTTPS protocol to be used.
Why SSL is essential in 2017
Everyday we share personal information on websites across the internet. Google is rightly pushing website owners to provide additional security and safety for the data visitors send and receive from your website using HTTPS.
In a recent post on Google’s security blog, Emily Schechter writes “Starting January 2017, Chrome 56 will label HTTP pages with password or credit card form fields as “not secure,” given their particularly sensitive nature”.
But this is just the start, Emily goes on to say “Eventually, we plan to label all HTTP pages as non-secure, and change the HTTP security indicator to the red triangle that we use for broken HTTPS.”
So if your website isn’t HTTPS potential customers could soon be shown a large red “Not secure” message in Google Chrome. And this is not limited to websites with eCommerce transactions. Even simple informational websites like blogs with no malware, will be marked as “Not secure” in Google Chrome.
That’s a big deal seeing Google Chrome has over half of the global browser market share.
Adding Cloudflare SSL to WordPress
In the past an SSL certificate would be purchased from your hosting company and install it on your account. That process was a bit technical and often issues were encountered installing SSL certificates. Now that’s changed, and you can get a free SSL certificate from Cloudflare. Setting up cloudflare for WordPress has many other benefits especially for WordPress website speed. So now we’ve covered what is SSL and why it’s important, it’s time to share an easy way to add a free SSL certificate to WordPress websites.
One you’ve signed up to cloudflare, login to your account. In the row of blue buttons at the top click on “Crypto”.

Select “Flexible” SSL to request a flexible SSL certificate from Cloudflare. It normally takes 15 minutes to be issued, indicated by the green “Active Certificate” notification.

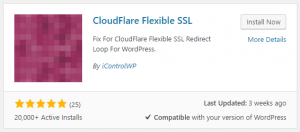 Some WordPress websites may experience redirect loops after activating Cloudflare’s Flexible SSL option. The Cloudflare Flexible SSL plugin prevents infinite redirect loops when loading WordPress sites under CloudFlare’s Flexible SSL system.
Now visit your website using HTTPS and check for a green padlock and “secure” message in Google Chrome’s address bar.
Most likely there will be some more work to be done, fixing unsecure content (images, scripts, internal links and CSS files) served using HTTP that will trigger a warning message in browsers. Changing them from http:// to https:// to earn your green padlock!
The process of finding unsecure content on your website can be time consuming if you’ve just switched to HTTPS. Make it easier by scanning your website for unsecure content using this awesome online SSL checker.
Do I need to do anything else after moving from HTTP to HTTPS?
After you’ve fixed any WordPress HTTPS problems, it’s time to let Google know about the change.
In Google Analytics navigate to the website property details and update the site url to https://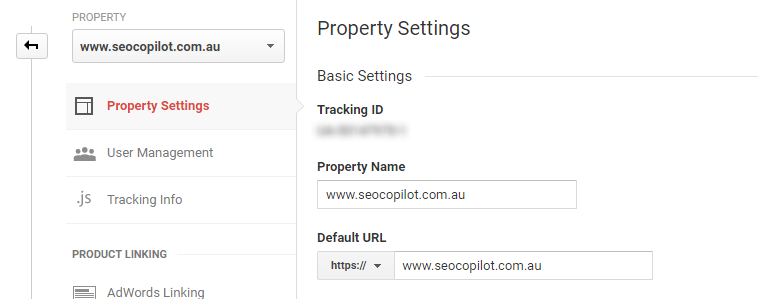
Login to your Google Search console and verify the new https:// and https://www urls. Finally submit a new XML sitemap to Google, and be sure to monitor your website as the HTTPS version is indexed. The Google search team also recently published answers to 13 FAQs for HTTPS migrations to answer more common SSL questions.






4 Response Comments
HTTPS is a minor ranking factor and newbies don’t know how to add this in WordPress, you’ve solved their problem with your blog! We also need to redirect HTTP urls to their HTTPS versions.
Thanks Raghav:)
Great read, I especially liked the Adding of Cloudflare SSL to WordPress and this fixed most of the minor problems of HTTPS for this newbie:)
Glad the post was helpful for your WordPress HTTPS conversion Amanda, thanks for the feedback!